
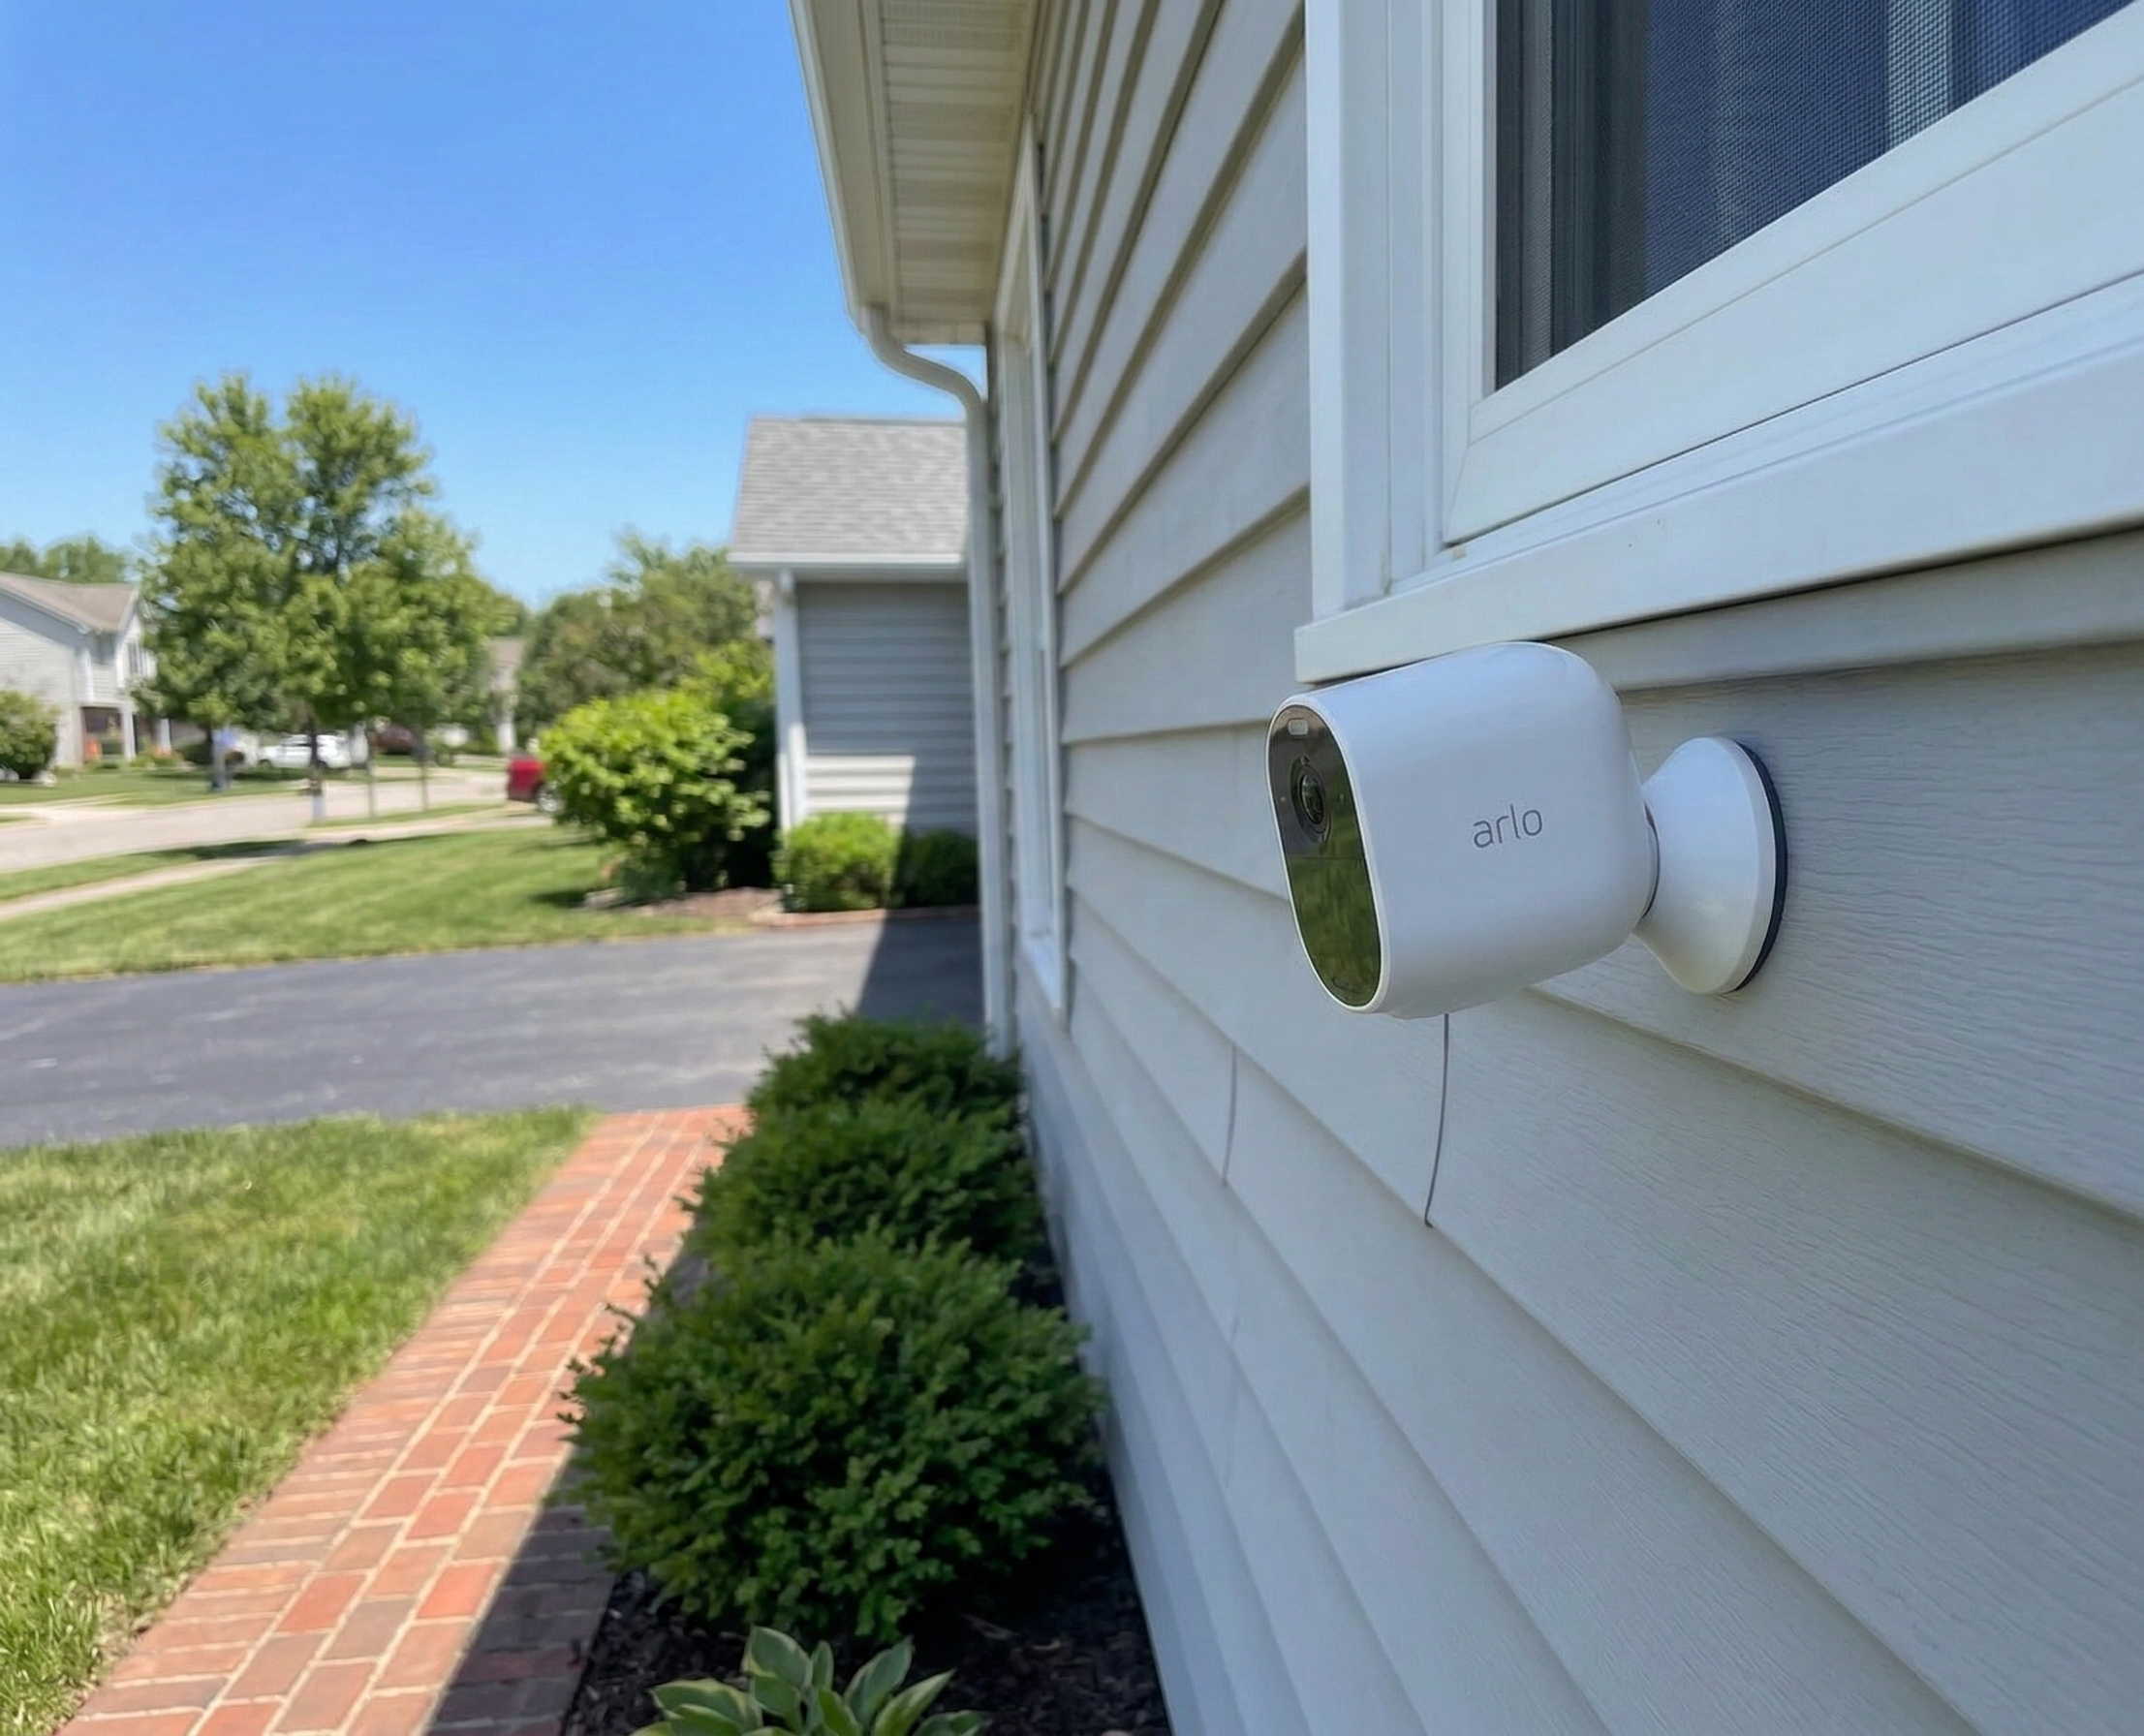
Getting your Arlo camera placement right matters as much as choosing the right model. A camera mounted in the wrong spot leaves blind spots that defeat the entire point of having a security system. This guide covers the best indoor and outdoor locations for Arlo cameras, the right height for each, which mounts work best where, and a handful of placement mistakes that are easy to fix once you know about them.
Three Rules That Apply Everywhere
Before getting into specific locations, three placement principles apply across every spot in your home.
Height matters more than angle. For most locations, mounting between 7 and 9 feet off the ground gives you the right balance. At that height, the camera is high enough to resist easy tampering and low enough to capture usable facial detail. Above 10 feet, you get wide area shots of the tops of people’s heads, which is useful for coverage but poor for identification.
Cover entry points first. Most residential break-ins happen through front doors, back doors, and ground-floor windows. As a result, those locations should be your first cameras, not the driveway or backyard. Expand outward once the entry points are covered.
Shelter extends battery life. Arlo Pro and Essential cameras are battery-powered. Mounting them under an eave or soffit reduces temperature extremes and direct rain exposure, which in turn extends battery life noticeably between charges.
Best Outdoor Placement Locations
Front Door
The front door is the single most important camera location in any home security setup. Mount at 7 to 8 feet on the wall beside or above the door frame, angled slightly downward to capture faces at the door and the approach path from the street. Avoid mounting directly above the door pointing straight down, as you will capture the tops of heads rather than faces.
This is a high-visibility, high-theft-risk location. The Arlo Total Security Mount is the right choice here. It locks the camera into a housing that requires a key to remove, so a would-be thief cannot simply pop the camera off the wall. For renters or anyone who cannot drill, the Wasserstein Door Mount hooks over the top of the door frame without any drilling and positions the camera directly above the entrance.
Back Door and Side Entries
Back doors and side entries are the second most common point of entry in residential break-ins. They are often less well-lit and less visible from the street, which makes them attractive to intruders. Mount a camera at 7 to 8 feet covering both the door and the approach path from the yard or alley. The Arlo Magnetic Wall Mount on a soffit or wall works well here. If there is no suitable wall surface at the right angle, the Wasserstein Gutter Mount clips to the gutter above the entry without drilling and gives you solid eave-height coverage.
Driveway and Garage
A driveway camera does double duty: it records vehicle comings and goings and covers the garage door as a secondary entry point. Mount on the front wall of the house or on a soffit at the corner, angled to cover the full driveway length. For attached garages, the corner where the garage meets the house is often the best position. One camera there can cover both the garage door and the vehicle approach.
If there is no wall surface at the right angle, the Wasserstein Gutter Mount’s 360-degree rotation makes corner positioning straightforward without a custom bracket. Mount between 8 and 9 feet for this location to capture vehicles and license plates rather than just hoods.
Backyard and Side Yards
Backyard cameras are most effective when mounted at a rear corner of the house, where a single camera can cover the largest possible area. At 8 to 9 feet at a rear corner, a wide-angle Arlo camera typically covers 70 to 80 percent of a standard backyard in a single frame. The Arlo Pro and Ultra series offer a 160-degree field of view, so you can minimize the number of cameras needed by positioning carefully at corners rather than centering on walls.
The Arlo Magnetic Wall Mount on the rear soffit is the cleanest installation for this location. Additionally, mounting under the eave keeps the camera out of direct rain and extends its overall lifespan.
Best Indoor Placement Locations
Main Living Area
An indoor camera in the main living area serves as your interior coverage layer. It is useful if someone gets past an exterior camera and inside, and also valuable for monitoring pets, children, or housekeepers when you are away. Mount in a corner at ceiling height using the Arlo Table and Ceiling Mount, which includes a short extension arm that angles the camera downward from a ceiling position without pointing it straight at the floor.
Stairway or Main Hallway
A stairway or hallway camera is often overlooked, but it covers every movement between floors or between the entry and living areas. A single camera at the top of the stairway wall or at the far end of the hallway creates a natural choke point that anyone moving through the home has to pass. The Table and Ceiling Mount works well here on the ceiling, as does the Magnetic Wall Mount on the upper wall angled downward.
Garage Interior
An interior garage camera covers the garage door as an entry point from inside, monitors vehicles and stored equipment, and catches anyone who enters through the garage without triggering an exterior camera first. Mount in an upper corner using the Magnetic Wall Mount or the Table and Ceiling Mount aimed at the garage door and the interior space. Keep the camera away from the garage door opener motor to avoid false motion triggers from vibration.
Placement by Location: Quick Reference
| Location | Recommended Mount | Height | Notes |
|---|---|---|---|
| Front door | Arlo Total Security Mount or Wasserstein Door Mount | 7 to 8 feet | Angle for face capture; use locking mount |
| Back / side door | Arlo Magnetic Wall Mount or Wasserstein Gutter Mount | 7 to 8 feet | Cover approach path from yard or alley |
| Driveway / garage | Arlo Magnetic Wall Mount or Wasserstein Gutter Mount | 8 to 9 feet | Corner position covers garage door and vehicle approach |
| Backyard | Arlo Magnetic Wall Mount | 8 to 9 feet | Rear corner; mount under eave |
| Living area (indoor) | Arlo Table and Ceiling Mount | Ceiling height | Corner position for widest coverage |
| Stairway / hallway | Table and Ceiling Mount or Magnetic Wall Mount | Ceiling or upper wall | Choke point coverage between floors |
| Garage interior | Magnetic Wall Mount or Table and Ceiling Mount | Upper corner | Keep away from opener motor |
Common Placement Mistakes to Avoid
Mounting too high. Above 10 feet, cameras capture wide area coverage but lose facial detail. For most locations, staying between 7 and 9 feet gives you the right combination of coverage and identification quality.
Pointing cameras toward light sources. A camera aimed at the sun during the day or toward a bright streetlight at night will be washed out and largely useless. The light source should be behind the camera, not in front of it.
Skipping shelter in outdoor locations. Even weatherproof cameras last longer and capture cleaner footage when mounted under an eave or soffit. Direct rain on a lens degrades image quality regardless of IP rating, so shelter is worth prioritizing at every outdoor location.
Using the adhesive mount for permanent outdoor installations. The Arlo magnetic wall mount uses screws for permanent outdoor use. Adhesive-backed accessories are for indoor or temporary placement only. In outdoor heat and UV exposure, adhesive fails over time.
Ignoring the SmartHub location. Arlo cameras connect through a SmartHub, not directly to your Wi-Fi router. The SmartHub connects to your router via ethernet, so place the SmartHub centrally and run a cable if needed. Cameras at the edge of your property will perform better when the hub is positioned centrally rather than tucked in a corner near the router.
Frequently Asked Questions
How high should I mount my Arlo camera?
Between 7 and 9 feet works well for most locations. That height is high enough to resist easy tampering and gives a good downward angle for coverage, while remaining low enough to capture usable facial detail. Ceiling-mounted indoor cameras are the exception, where mounting in a corner at full ceiling height gives the widest possible coverage angle.
How many Arlo cameras do I need for a typical home?
A typical single-family home is well covered by four to five cameras: front door, back door, driveway or garage, backyard corner, and one indoor camera in the main living area. Larger properties or homes with multiple entry points may need six or more. Start with the entry points and expand based on the blind spots you identify after reviewing your initial footage.
Can I mount an Arlo camera without drilling?
Yes. The Wasserstein Door Mount hooks over any exterior door frame without drilling. The Wasserstein Gutter Mount clips to the gutter above an entry point without holes. For indoor use, the Arlo Table and Ceiling Mount stands on any flat surface without mounting hardware at all. These options work well for renters or anyone who wants to avoid putting holes in walls or door frames.
Where should I avoid mounting an Arlo camera?
Avoid locations where the camera faces directly into a light source, is fully exposed to rain without any shelter, or is within easy reach from the ground without a locking mount. Also consider privacy: pointing cameras at a neighbor’s property or toward public sidewalks can raise concerns. Check your local ordinances if you are unsure about exterior camera placement facing shared spaces.
Bottom Line
Cover entry points first, mount between 7 and 9 feet, and shelter outdoor cameras under an eave wherever possible. A locking mount at the front door and a gutter or magnetic mount at secondary entries covers most homes well. Expand to driveway, backyard, and interior coverage once the entry points are solid.
For the current Arlo flagship camera, see the Arlo Pro 6 review and the full breakdown of Arlo subscription plans. For every Arlo review and guide on the site, see the Arlo camera hub.