Most floodlight cameras are designed to replace an existing outdoor light fixture — which means they assume a junction box is already in the wall. For a lot of homeowners, that assumption is wrong. The spot where you want the camera may never have had an outdoor light. Or you want to add a second or third floodlight somewhere a junction box was never run. Hiring an electrician to install one runs around $650 on average — a cost that can easily exceed the price of the camera itself.
The good news is there are three practical ways to install a floodlight camera without a junction box, and at least one of them will work for almost any situation. This guide covers all three, with specific product recommendations for each approach.
First: Do You Actually Have a Junction Box?
Before assuming there is no junction box, it is worth taking a look. An outdoor junction box is a metal or plastic enclosure mounted on the exterior wall, typically under an eave or above a garage door, with wires running into it from inside the wall. It is covered by the existing light fixture. If there is currently an outdoor light — a porch light, a garage light, a motion-activated floodlight — there is almost certainly a junction box behind it. In that case, a standard hardwired floodlight camera will install directly in its place with no additional work.
The three approaches below are for situations where there genuinely is no junction box, or where the existing box is in the wrong location for the coverage needed.
Option One: Plug-In Mount (Best for Most Homeowners)
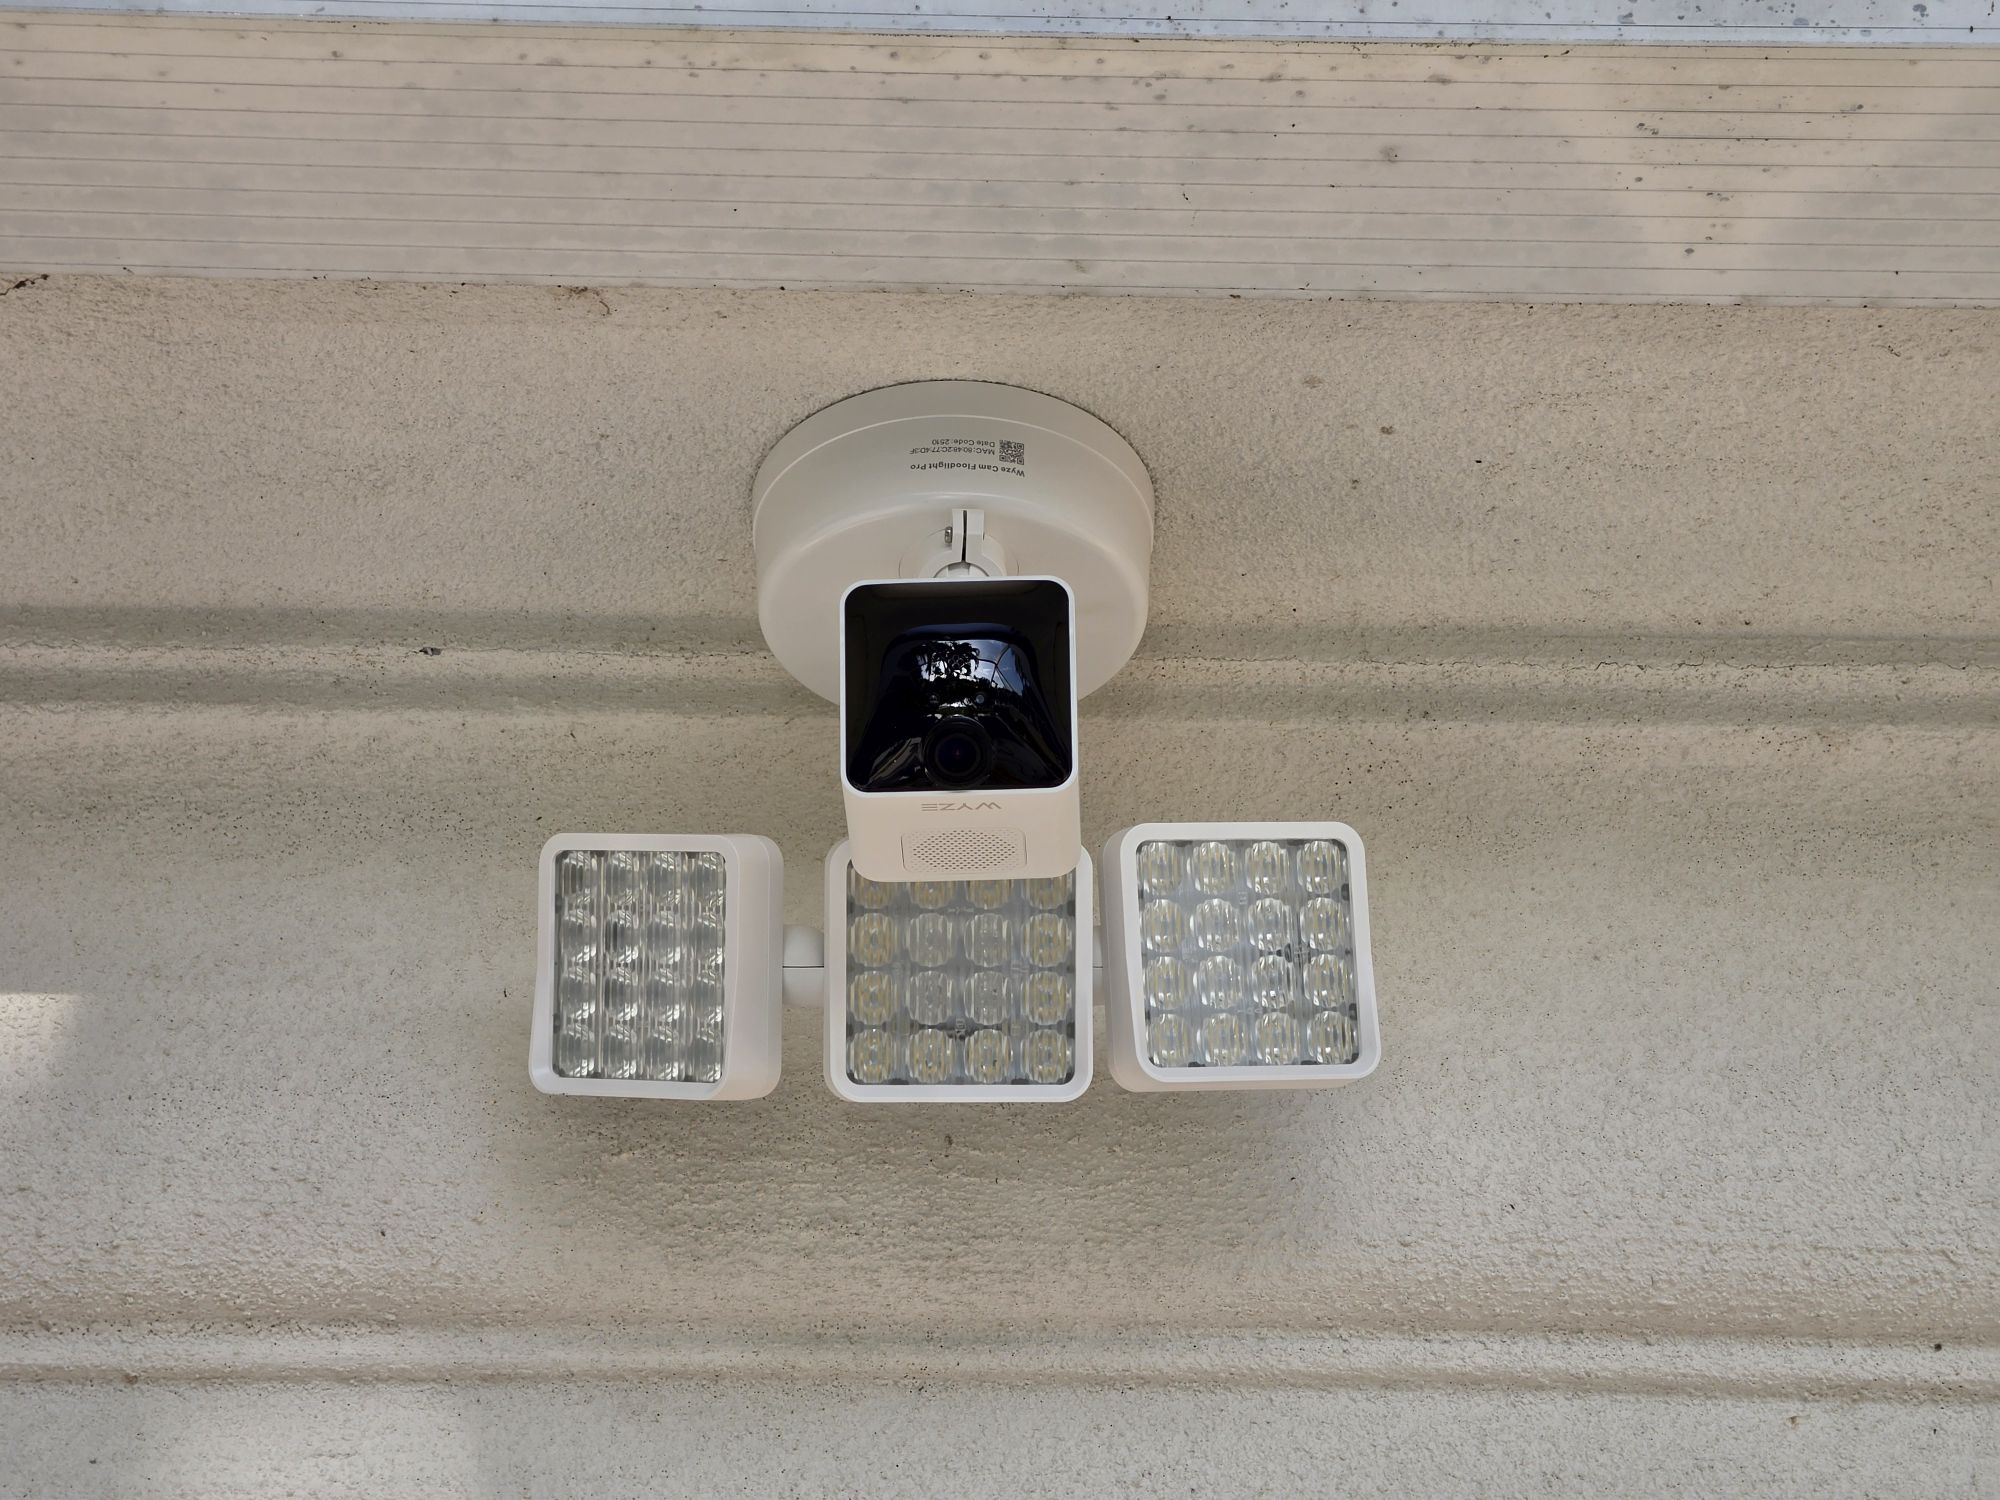
The cleanest solution for most situations is a plug-in mount — a bracket that replaces the junction box and connects the floodlight camera to a standard outdoor GFCI outlet via a weatherproof power cable. The camera mounts to the bracket on the wall or eave, the cable runs to the outlet, and the result looks very similar to a hardwired install from any distance. No electrical work required.
Wyze makes an official plug-in mount specifically for the Wyze Cam Floodlight Pro. The Wyze Floodlight Cam Plug-In Mount includes a 20-foot weatherproof SJTW-rated power cable, a Velcro strap for clean cable management, and the mounting bracket — everything needed to install the Floodlight Pro at any location within 20 feet of an outdoor outlet. The cable is UL-certified and outdoor-rated, and the mount is compatible with all Wyze Cam Floodlight models including v1, v2, and Pro.
For the best value, Wyze also sells a Wyze Cam Floodlight Pro + Plug-In Mount bundle that includes both the camera and the mount together — a good option if starting from scratch.
For buyers who want the eufy E340’s dual-camera 360° pan/tilt coverage without a junction box, eufy sells the eufy Floodlight Camera E340 with AC Cable — a version of the E340 that ships with a 20-foot standard AC cable and three-prong plug, explicitly designed for installation without a junction box. Same 2,000-lumen output, dual 3K/2K cameras, 360° AI tracking, and free local storage as the standard wired model — just powered from an outlet instead of hardwired. This is the strongest plug-in option for buyers who want subscription-free storage and dual-camera coverage.
A few practical notes that apply to any plug-in floodlight installation:
- The outlet must be an outdoor-rated GFCI outlet — the kind with the test/reset buttons. A standard indoor outlet is not appropriate for outdoor use.
- The 20-foot cable reaches most eave and garage locations from a nearby outlet, but measure the distance first to confirm.
- The cable can be run along the wall and secured with exterior cable clips for a cleaner appearance.
- Do not power the mount until the camera is fully installed and mounted — connect power last.
For a full review of the Wyze Cam Floodlight Pro itself, see the Wyze Cam Floodlight Pro review.
Option Two: Solar Battery Floodlight Camera (No Outlet, No Wiring)
For locations where there is no outdoor outlet either — the back corner of a yard, a detached structure, a fence line — a solar-powered battery floodlight camera is the only truly infrastructure-free solution. No wiring, no outlet, no electrician, no cable to manage. The camera mounts anywhere and runs indefinitely on solar power.
The Tapo C615F KIT is the best option in this category. It pairs a 2K pan/tilt camera with an 800-lumen floodlight and a solar panel in a single wire-free kit. The 10,400mAh battery provides up to 140 days of backup power when solar input is low, and Tapo rates just 45 minutes of direct sunlight per day as sufficient for continuous operation. The camera includes 360° AI motion tracking that follows people and vehicles across the frame, with free person, vehicle, and pet detection — no subscription required. Local microSD storage up to 512GB is also free.
The honest trade-off is brightness. At 800 lumens, the Tapo C615F produces noticeably less light than a hardwired floodlight — it is effective for triggering color night vision and deterring intruders at close range, but will not fully illuminate a large open driveway or backyard the way a 3,000-lumen wired unit does. For most residential applications — a side gate, a back corner, a detached shed — the brightness is more than adequate. For a full owner review, see the Tapo C615F review.
Option Three: Power over Ethernet (PoE)
Power over Ethernet is a less common but genuinely useful option for buyers comfortable running a cable. A single Ethernet cable carries both data and power from a PoE switch or injector indoors to the camera outside — no junction box, no outdoor outlet, no electrical work beyond drilling a hole through the wall for the cable.
The installation process: run a CAT6 Ethernet cable from a PoE switch inside the house, through the wall at the desired mounting location, and connect it to a compatible floodlight camera outside. The camera receives power through the Ethernet cable and connects to the network through the same cable — no Wi-Fi dependency and no separate power run required.
Not all floodlight cameras support PoE. The eufy Floodlight Camera E340 offers a PoE version, making it a good option for this approach. A PoE setup is generally more involved than the plug-in mount method but produces a very clean finished install with no visible cable runs along the exterior wall.
Comparison: Which Approach Is Right for Your Situation?
| Approach | Best Pick | Requires | Brightness | Difficulty |
|---|---|---|---|---|
| Plug-In (Budget) | Wyze Floodlight Pro + Plug-In Mount | Outdoor GFCI outlet within 20ft | 3,000 lumens | Easy |
| Plug-In (No Subscription) | eufy E340 with AC Cable | Outdoor GFCI outlet within 20ft | 2,000 lumens | Easy |
| Solar Battery | Tapo C615F KIT | Sunlight — nothing else | 800 lumens | Easiest |
| PoE | eufy E340 (wired version) | CAT6 cable run + PoE switch | 2,000 lumens | Moderate |
For most homeowners, the plug-in mount approach is the right call. It delivers the full floodlight experience — 3,000 lumens, continuous power, no battery management — with nothing more complicated than screwing a bracket to the wall and running a cable to an outlet. The Wyze Cam Floodlight Pro with the plug-in mount is the strongest combination available at this price point, and the install takes under 30 minutes.
The solar battery approach is the right call when there is genuinely no outlet nearby. The Tapo C615F gives up some brightness but gains complete location freedom and zero ongoing maintenance.
PoE is worth considering if a clean, cable-free exterior appearance is a priority and running a single cable through the wall is acceptable.
Bottom Line
No junction box is not the obstacle it used to be. The Wyze Cam Floodlight Pro with its plug-in mount delivers full hardwired-camera performance from any outdoor outlet — no electrician, no $650 junction box installation. For locations with no outlet at all, the Tapo C615F KIT runs entirely on solar with no wiring whatsoever. Either approach gets a proper floodlight camera installed in an afternoon.