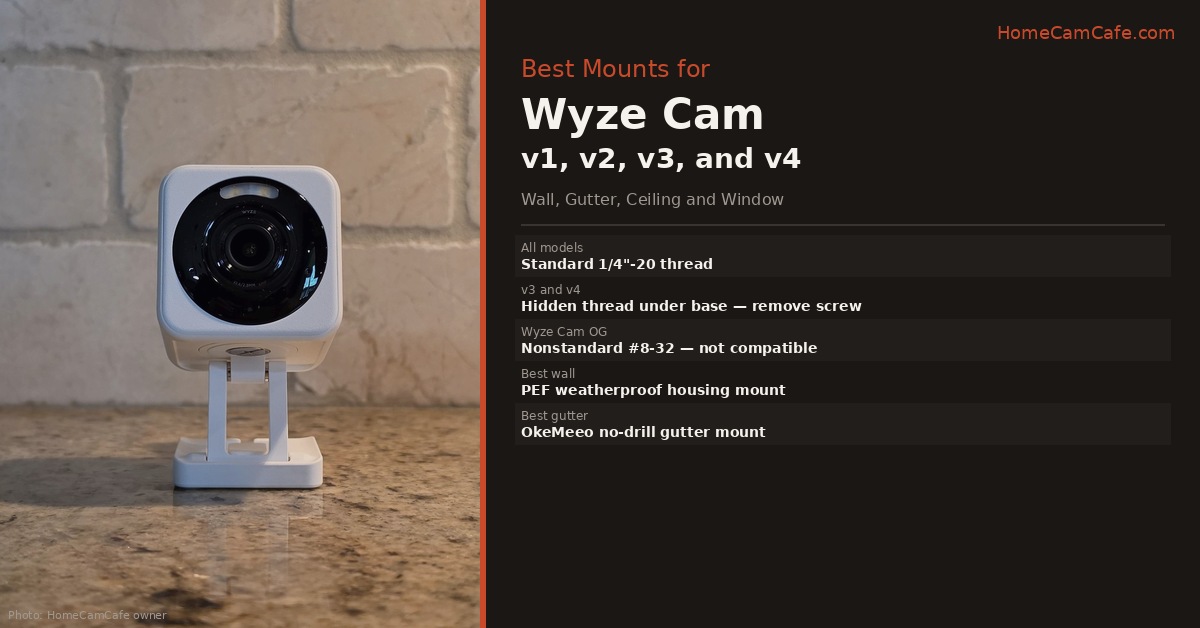
Every Wyze Cam from the original v1 through the current Wyze Cam v4 uses a standard 1/4″-20 threaded mount connection. This is the same thread size used by virtually every camera tripod, wall mount, and ceiling bracket ever made. That means every Wyze Cam owner has access to thousands of compatible mounting options beyond the basic included stand. The Pan lineup uses the same 1/4″-20 thread — but because the base rotates and the lens tilts independently, mounting placement requires more thought than a fixed camera. This guide covers the best mounts for each use case, how to access the hidden 1/4″-20 thread on the v3 and v4, Pan-specific mounting considerations, and one important exception to know before buying.
Mount Compatibility Across Wyze Cam Generations
| Camera | Thread | Magnetic Base | Outdoor Rated | Standard Mounts |
|---|---|---|---|---|
| Wyze Cam v1 | 1/4″-20 | Yes | No | Compatible |
| Wyze Cam v2 | 1/4″-20 | Yes | No | Compatible |
| Wyze Cam v3 | 1/4″-20 (hidden under base) | Yes | Yes (IP65) | Compatible |
| Wyze Cam v4 | 1/4″-20 (hidden under base) | Yes | Yes (IP65) | Compatible |
| Wyze Cam Pan v1/v2 | 1/4″-20 | No | No | Compatible |
| Wyze Cam Pan v3 | 1/4″-20 | No | Yes (IP65) | Compatible |
| Wyze Cam Pan v4 | 1/4″-20 | No | Yes (IP65) | Compatible |
| Wyze Cam OG | 1/4″-20 (updated units) / nonstandard (early units) | No | No | See note below |
Wyze Cam OG note: Early OG units use a nonstandard thread — not 1/4″-20 — that is incompatible with standard mounts. Wyze later updated the OG to a standard 1/4″-20 thread during production. The updated version has no pigtail on the back. If you have an early OG, a 1/4″-20 adapter is available on Amazon that attaches to the base and restores standard mount compatibility. See the Wyze Cam OG review for more detail.
How to Access the Hidden 1/4″-20 Thread on v3 and v4
The v3 and v4 use the 1/4″-20 thread to hold the included base stand in place. It is not immediately visible. To access it:
Step 1. Turn the camera upside down so the base is facing up.
Step 2. Remove the single Phillips or flathead screw that holds the base to the camera body.
Step 3. The base detaches, revealing the 1/4″-20 threaded hole underneath.
Step 4. Thread any standard 1/4″-20 mount screw directly into this hole.
This unlocks the full ecosystem of standard camera mounts such as wall brackets, gutter clips, ceiling mounts, articulating arms, and suction cup window mounts. The magnetic base can still be used separately on any metal surface once detached from the camera. The Pan lineup does not require this step — the 1/4″-20 thread is exposed directly in the base on all Pan models.
Pan Series: Mounting Considerations
The Pan lineup uses the same 1/4″-20 thread as every other Wyze Cam, so hardware compatibility is not an issue. What is different is placement strategy. Because the Pan base rotates 360° and the lens tilts independently, a poor mount location limits the camera’s ability to function — walls, furniture, or tight corners can block the rotation arc and prevent the camera from tracking motion across the full scene.
Mount high and away from walls. A corner ceiling position — with the camera angled down into the room — gives the Pan the clearance it needs to rotate without obstruction. This is the ideal placement for large rooms and open spaces.
Avoid wall mounting close to the camera’s sides. If the camera is mounted flat against a wall with objects nearby, the rotating base will hit them when tracking motion. Leave at least 12 inches of clear space around the camera when wall mounting a Pan.
Ceiling mounting works well. Mount upside down on the ceiling, enable the Rotate Image 180° setting in the Wyze app under Advanced Settings, and the Pan has maximum rotation clearance with no obstruction risk.
Outdoor use — Pan v3 and v4 only. The Pan v1 and v2 are indoor-only cameras with no weather resistance. The Pan v3 and v4 carry an IP65 rating and are suitable for outdoor installation. Do not mount Pan v1 or v2 in any exposed outdoor location.
Pan mount tip: A magnetic mount for the Pan lineup requires a third-party magnetic adapter since the Pan has no built-in magnetic base. The TEKCAM magnetic mount for Wyze Cam Pan uses a 1/4″-20 thread adapter to add magnetic mounting capability to all Pan generations.
Best Wall Mount: v3, v4, and Pan v3/v4
For most wall installations, a purpose-built mount with a weatherproof housing is the cleanest solution for the v3 and v4. The PEF weatherproof wall mount for Wyze Cam v3 and v4 wraps the camera in a protective ABS housing with 360° swivel and 90° tilt — the housing adds weather protection beyond the v3 and v4’s built-in IP65 rating and keeps the cable connection protected at the rear. It is a snap-in buckle design with no screws required to insert or remove the camera, which makes repositioning easy. Available in white and black, in single and multi-packs.
For Pan v3 and v4 wall installations, the FastSnail 360° swivel wall mount is the better choice over a housing-style mount because a housing restricts the Pan’s rotation arc. The FastSnail uses a standard 1/4″-20 thread, mounts to any wall or ceiling surface, and gives the Pan the clearance it needs to rotate freely. Remember to position it away from obstructions on all sides. For v1 and v2 owners who want a simple adjustable bracket, the same FastSnail mount works across all fixed and Pan generations.
Best Outdoor Gutter Mount
For outdoor installations without drilling into the house exterior, a gutter mount clips to the gutter lip and holds the camera at an elevated angle covering the driveway, yard, or entry point below. The adjustable gutter mount clips to gutters, uses the 1/4″-20 thread directly, and provides 180° swivel and 90° tilt for aiming. Stainless steel and ABS construction — no rusting on exposed installations. No drilling required and the mount can be repositioned or removed without damaging the gutter or house exterior.
The gutter mount works well for the Pan v3 and v4 outdoors, provided the camera is positioned with adequate clearance from the gutter and fascia on the sides. Position the camera under the gutter overhang for additional weather protection, with the cable routed along the gutter line for a clean installation.
Best Ceiling Mount
For cameras mounted on ceilings — garages, above entryways, or in large rooms where a high corner position provides better coverage — the FastSnail 360° swivel mount works equally well on ceilings as on walls. Remove the base from the v3 or v4, thread the mount screw into the 1/4″-20 hole, and mount the bracket to the ceiling surface. Enable the Rotate Image 180° option in the Wyze app under Advanced Settings to flip the image correctly for ceiling-mounted cameras. For the Pan lineup, ceiling mounting is the ideal placement — it gives the camera maximum rotation clearance with no obstructions. For v1 and v2, the magnetic base can be used on metal ceiling surfaces like basement joists or metal drop ceiling grids without any screws at all.
Best Window Mount
For monitoring outdoor areas from inside — which eliminates weatherproofing requirements and exterior cable routing — a suction cup window mount holds the camera against the glass from the inside. Wyze sells an official window mount compatible with the v3, v3 Pro, and v4 that uses a suction cup base with an adjustable arm. The Pan v3 and v4 also work with window suction mounts — position the camera with clearance on all sides so the base can rotate without touching the glass.
One important setting when using any camera through glass: disable IR night vision in the Wyze app. The IR LEDs reflect off the glass and produce a bright glare that washes out night footage entirely. The v3, v4, Pan v3, and Pan v4 color Starlight sensor produces better footage through glass at night using available ambient light than IR mode does. Switch the camera to Color night vision mode when mounting behind a window.
Using the Magnetic Base Without Any Mount
All Wyze Cam v1 through v4 include a magnetic base that attaches to any ferrous metal surface without tools or screws. This works well for metal door frames, steel shelving, electrical boxes, and metal garage door tracks. The magnet is strong enough to hold the camera securely in most orientations. Note that the Pan lineup does not include a magnetic base — a third-party magnetic adapter is required for magnetic mounting on Pan models.
Wyze also sells adhesive metal plates that stick to non-metal surfaces like wood, drywall, and plastic, converting them into magnetic mounting points without drilling. The Wyze official mounting kit packages a round metal plate and a 5-foot USB extension cable together — the metal plate attaches to any flat surface with the included adhesive or screw, and the camera’s magnetic base snaps to it. Useful for non-metal walls where the magnet will not grip directly, but not a full bracket solution. For buyers who want a proper adjustable mount rather than a flat plate, one of the third-party options above is a better purchase.
Bottom Line
Every Wyze Cam from v1 to v4 and the full Pan lineup uses a standard 1/4″-20 thread — remove the base screw on the v3 and v4 to access it. The PEF weatherproof housing mount is the best all-around wall option for v3 and v4 outdoor installations. The FastSnail swivel bracket is the better choice for Pan models since a housing mount restricts the rotation arc. The gutter mount handles no-drill outdoor installations cleanly for both fixed and Pan v3/v4 cameras. The Wyze Cam OG is the one exception — early units have a nonstandard thread, though Wyze updated later production units to standard 1/4″-20. Check whether your OG has a pigtail on the back — if it does, pick up a 1/4″-20 adapter. Pan v1 and v2 are indoor only — do not mount them outdoors.
This guide is part of our Wyze Security Camera Reviews hub. See also: Security Camera Mount Guide and Wyze Cam v4 Review.