
Learning how to change batteries in a Blink Doorbell starts with identifying which model you own. The original Blink Video Doorbell uses two AA lithium batteries, while the Video Doorbell (2nd Gen) and Battery Doorbell 2K+ use three. The removal process is similar, but the battery count and back-cover details are not identical.
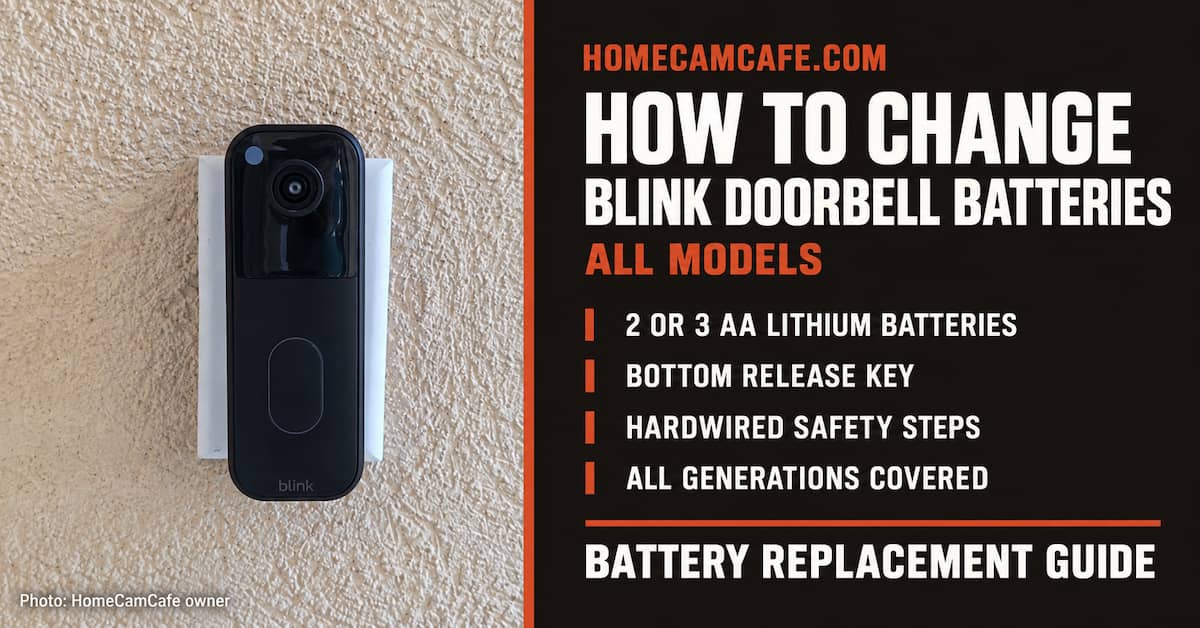
Quick answer
Insert the Blink release key into the slot on the bottom of the doorbell, press until the catch clicks, and pull the doorbell away from its mounting plate. Open the rear battery cover, replace the complete set with AA 1.5V non-rechargeable lithium batteries, close the cover, and press the doorbell back onto its mount until it clicks. Turn off the doorbell-chime circuit at the breaker first if the doorbell is hardwired.
Which Blink Doorbell Do You Have?
Check the model name in the Blink app before buying batteries. You can also identify the generation by the number of cells inside the battery compartment. Do not confuse the Battery Doorbell 2K+ with the Wired Doorbell 2K+, which has no user-replaceable batteries.
| Blink doorbell | Battery requirement | Procedure below |
|---|---|---|
| Original Blink Video Doorbell | 2 AA 1.5V non-rechargeable lithium | Original two-battery model |
| Video Doorbell (2nd Gen) | 3 AA 1.5V non-rechargeable lithium | Newer three-battery models |
| Battery Doorbell 2K+ | 3 AA 1.5V non-rechargeable lithium | Newer three-battery models |
| Wired Doorbell 2K+ | No replaceable batteries | Not covered by this procedure |
Our Blink Video Doorbell (2nd Gen) review explains the other differences between the original and second-generation models.
What You Need Before Starting
Gather the batteries and release tool before removing the doorbell:
- A complete set of two or three AA 1.5V non-rechargeable lithium batteries
- The thin release key supplied with the doorbell
- A clean, dry place to set the doorbell and battery cover
- Access to the circuit breaker if the doorbell is connected to existing chime wiring
Blink specifies non-rechargeable lithium batteries. Energizer Ultimate Lithium AA batteries are the safest default because they match Blink’s named recommendation. For a less expensive choice, I have used BEVIGOR non-rechargeable lithium AAs in Blink cameras and found them reliable. The Granicell lithium AA 8-pack also matches the basic 1.5V single-use lithium specification, although I have not personally tested that brand.
Do not mix brands, battery types, or old and new cells. Replace the complete set at the same time. Our guide to the best batteries for Blink cameras and doorbells explains why alkaline and rechargeable batteries are poor substitutes.
Hardwired doorbell safety
Blink warns that live current may be present at the metal contact posts when chime wires are connected to the mounting plate. Turn off power to the doorbell chime at the circuit breaker before removing a hardwired Blink Doorbell. Do not loosen or touch the wiring during a routine battery change.
How to Change Batteries in the Original Blink Video Doorbell
The original Video Doorbell uses two AA lithium batteries. Blink produced more than one mounting-plate design for this model, so the movement needed after releasing the bottom catch can vary slightly.
- Turn off chime power if hardwired. Switch off the applicable circuit breaker before touching the mounted doorbell.
- Release the doorbell. Push the release key straight into the slot on the bottom until the catch disengages.
- Remove it from the plate. Pull the bottom away from the wall. If you have the two-hole back plate, slide the doorbell upward while pivoting it away from the mount.
- Open the rear cover when present. Turn the doorbell over and lift the gray latch at the bottom with a fingernail. Remove the weather-resistant cover and place it somewhere clean.
- Replace both batteries. Remove the old cells and install two new AA 1.5V non-rechargeable lithium batteries. Match every positive and negative terminal to the markings in the compartment.
- Close the compartment. Insert the cover’s upper tabs into their slots near the terminal screws. Press the bottom until the gray latch clicks. Some two-hole back-plate versions expose the batteries after the doorbell is removed and do not require this separate cover step.
- Remount and test. Set the hook at the top of the mounting plate, then press the bottom firmly until it clicks. Restore breaker power and press the doorbell button.
Do not force the doorbell straight away from the wall before releasing the bottom catch. That can damage the plastic lock or pull the mounting plate loose.
How to Change Batteries in the Video Doorbell 2nd Gen or Battery Doorbell 2K+
Both newer battery-powered models use three AA lithium batteries and share the same basic replacement process.
- Turn off power if hardwired. The Battery Doorbell 2K+ and Video Doorbell (2nd Gen) can be connected to compatible chime wiring. Switch off the breaker before proceeding.
- Insert the release key. Push it firmly into the bottom slot until you hear or feel a click.
- Pull the doorbell from the plate. Support it with your other hand so it does not fall when the catch releases.
- Open the battery compartment. Turn the doorbell over, lift the rear-cover latch, and remove the cover.
- Install three fresh batteries. Replace all three cells and follow the positive and negative polarity marks molded into the compartment.
- Replace the back cover. Fit the tabs at the top of the cover into the terminal-screw slots, then press the bottom until the latch clicks.
- Reattach the doorbell. Align it with the mounting plate and press firmly until it locks with a click.
- Test it. Restore breaker power when applicable, press the doorbell button, and confirm that the Blink app receives the event.
The wiring does not eliminate the batteries on these battery-powered models. It connects the doorbell to a compatible in-home chime, while the installed AA batteries remain part of the doorbell’s power system.
What If You Lost the Blink Release Key?
The release key is easy to misplace because battery changes may be many months apart. Blink recommends contacting its support team for a replacement. A purpose-made replacement Blink Doorbell release-key set is another practical option if you want spares.
Avoid pushing a thick screwdriver or improvised object into the slot. An oversized tool can mar the housing or damage the release catch (been there, done that). Once you have a replacement, store it with your spare batteries or tape it inside the breaker-panel door.
Troubleshooting After Replacing the Batteries
The doorbell does not turn on
Remove the batteries and check the polarity markings again. Make sure all cells came from the same fresh package and that the metal contacts are clean. Do not combine a partly used cell with new ones.
The back cover will not close
Check that the upper tabs entered their slots before pressing the bottom latch. A battery installed backward or not fully seated can keep the cover from lying flush. Do not force it because a poorly seated cover can compromise weather resistance.
The doorbell will not click onto the mounting plate
Confirm that the battery cover is fully latched and no wiring is protruding from the plate. Engage the top correctly before pressing the bottom. If the release catch appears bent or broken, replace the damaged mounting component instead of holding the doorbell on with tape.
The app still reports low battery
Press the doorbell button to wake the device and give the app time to refresh its status. If the warning remains, recheck polarity and try another unopened set of the correct lithium batteries. Blink reports a general battery condition rather than a precise remaining percentage.
The doorbell went offline during the change
A brief offline period is normal while the batteries are removed. The device should reconnect after power is restored and the button is pressed. Do not delete the doorbell from your Blink account merely because it takes a few moments to reconnect.
Frequently Asked Questions About How to Change Batteries in a Blink Doorbell
What batteries does a Blink Doorbell use?
Battery-powered Blink Doorbells use AA 1.5V non-rechargeable lithium batteries. The original Video Doorbell takes two. The Video Doorbell (2nd Gen) and Battery Doorbell 2K+ take three.
Can I use alkaline batteries in a Blink Doorbell?
Alkaline batteries may power the doorbell temporarily, but they are outside Blink’s recommended specification and can provide shorter, less predictable service. Non-rechargeable lithium AAs are the correct replacement.
Can I use rechargeable AA batteries?
Blink does not recommend rechargeable batteries. Common NiMH rechargeables operate at 1.2V, while regulated rechargeable lithium cells behave differently from the non-rechargeable 1.5V lithium batteries the doorbell is designed to use.
How long do Blink Doorbell batteries last?
Blink advertises long battery intervals under defined test conditions, but real runtime depends on motion traffic, Live View use, recording settings, wireless signal strength, temperature, and model. Treat the estimate as a best case rather than a guaranteed replacement schedule.
Will changing the batteries erase my settings?
No. A routine battery replacement does not remove the doorbell from your Blink account or erase its settings. The doorbell should reconnect to the existing system after the new batteries are installed.
For other models, see our guide to changing batteries in a Blink camera. You can also compare current hardware, reviews and troubleshooting guides in the Blink Security Camera Hub.
Bottom line
Use the bottom release slot, replace the complete battery set with AA 1.5V non-rechargeable lithium cells, and make sure both the weather-resistant cover and mounting catch click securely. The original Blink Video Doorbell needs two batteries; the Video Doorbell (2nd Gen) and Battery Doorbell 2K+ need three. If the unit is hardwired, switch off the chime circuit at the breaker before removing it.