Every Reolink camera has a status LED near the lens that glows blue when the camera is connected to the network. It is useful for confirming connectivity during setup but unnecessary once the camera is confirmed working. For bedroom installations, cameras facing windows, or any situation where a visible LED is unwanted, Reolink makes it easy to disable from the app. Here is exactly how.
How to Turn Off the Status LED on Reolink Cameras
The steps are the same across all current Reolink camera models including the Argus 4 Pro, Argus series, E1 series, and RLC series:
Step 1. Open the Reolink app and tap the camera you want to adjust.
Step 2. Tap the Settings gear icon.
Step 3. Tap Device Settings, then tap Advanced.
Step 4. Find Status LED and tap the toggle to disable it.
The light turns off immediately. All camera functions — recording, motion detection, alerts, and local microSD storage — continue normally with the LED disabled.
Note: On some Reolink models the Status LED toggle may appear directly under Device Settings without a separate Advanced sub-menu. If you do not see it at the Advanced level, check the main Device Settings page. The toggle is present on all current Reolink cameras.
IR LEDs Are a Separate Setting
Reolink cameras typically have three separate light systems — the status LED, IR night vision LEDs, and on spotlight models, a white spotlight. The status LED toggle only controls the small indicator light near the lens. It does not affect the IR LEDs used for night vision.
To disable the IR night vision LEDs — for example for window-facing installations where IR causes glare on the glass — go to Device Settings and look for Night Vision or IR Lights. Switching the camera to Color mode or Day mode disables IR entirely, though this removes night vision capability in complete darkness. The Reolink Argus 4 Pro’s ColorX technology produces full-color night vision without IR LEDs at all — making this a non-issue on that model.
What the LED Colors Mean on Reolink Cameras
- Solid blue — camera is connected to the network and operating normally
- Slow flashing blue — camera is trying to connect to Wi-Fi
- Fast flashing blue — camera is in setup mode
- Red — camera has no network connection
- Alternating blue and red — firmware update in progress
As with all cameras, it is worth re-enabling the status LED temporarily if the camera ever goes offline — the LED color is the fastest way to diagnose a connection problem before opening the app.
Bottom Line
Open the Reolink app, go to Device Settings, tap Advanced, find Status LED, and toggle it off. Works on all current Reolink camera models. The IR night vision LEDs are a separate setting — use Night Vision or IR Light settings to control those independently if needed.
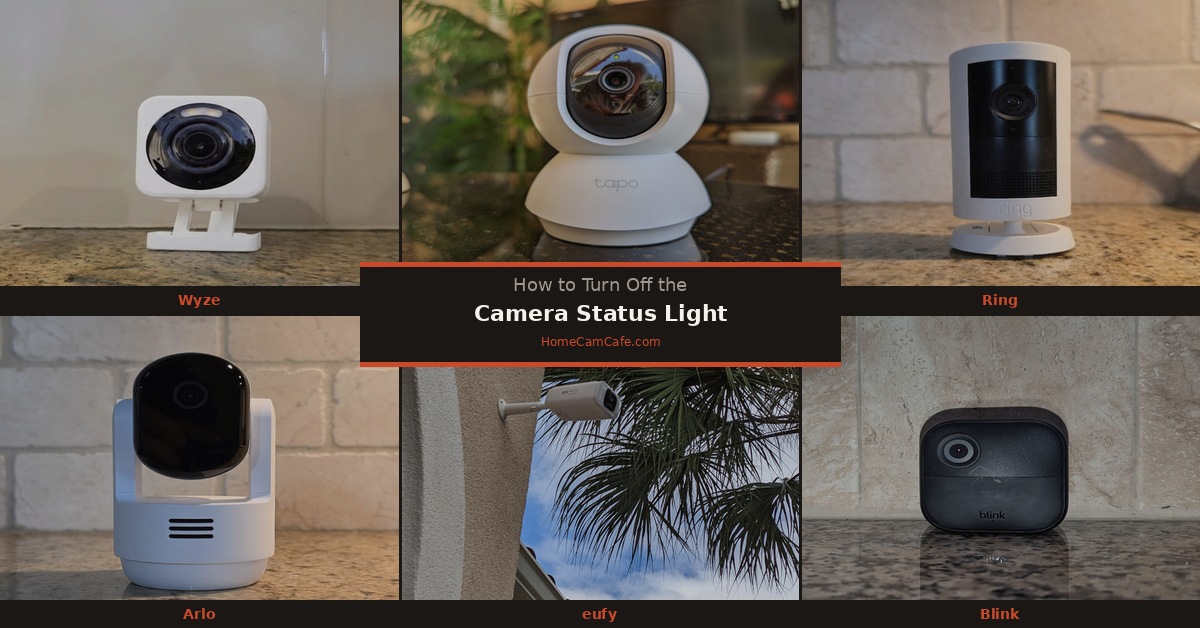
This guide is part of our Reolink Security Camera Reviews hub. See also: How to Turn Off the Status Light on Any Security Camera.