
The Reolink RLN8-410 is an 8-channel PoE network video recorder built to run a Reolink camera system without a subscription, and after running it in my own home setup for several weeks, I have a clear picture of where it earns its reputation and where it falls short. As a result, this review covers setup, camera compatibility, documentation, and day-to-day performance based entirely on hands-on use, not spec sheets.
Check the current price on Amazon
What’s in the Box
The RLN8-410 ships with everything needed to get a basic setup running immediately. In addition to the NVR unit itself, the box includes an Ethernet cable, a power supply, an HDMI cable, and a mouse for local navigation. Consequently, there is no need to source extra hardware before the first setup session, which is a small but useful touch for a device in this price range. Nothing about the included accessories felt like an afterthought, and everything worked as expected right out of the box.
Setup and Configuration
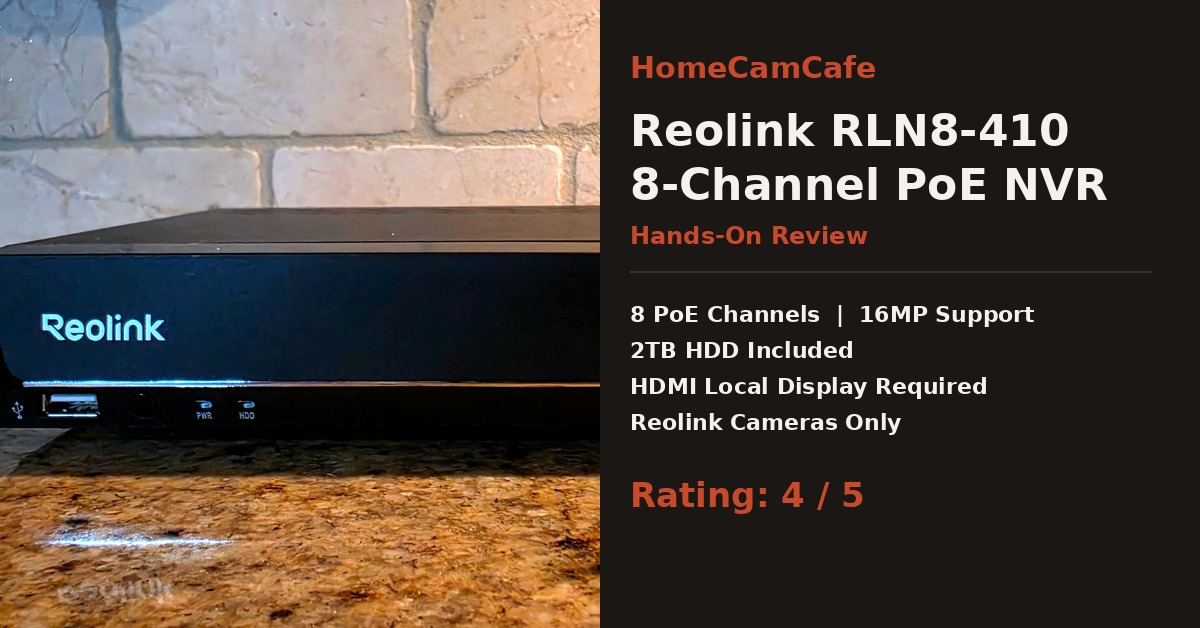
The physical unit is unassuming. In fact, it looks a bit like a cable TV box from the 1990s, low, black, and boxy, with a glossy top panel and a simple row of buttons and status lights across the front. Under the hood, however, it behaves much more like a small dedicated computer running the NVR software than a simple recording appliance, though Reolink does not publish exact internal hardware details, so that description is an impression based on how the interface responds rather than a confirmed spec.
One thing to plan around before buying: full configuration is not possible from the Reolink app alone. The NVR needs to be connected to a display, either a dedicated monitor or, as I did, an HDMI input on a television, in order to walk through complete setup. Once configured, day-to-day viewing and playback can happen through the app on a phone or tablet without any further need for the display. However, initial setup and any deeper configuration changes, such as adjusting recording schedules per channel or managing storage, still require that direct display connection with the included mouse in hand.
For anyone used to fully app-based smart cameras, this is a real shift in workflow. Budget time for an initial session at the TV or monitor, rather than expecting to unbox the RLN8-410 and finish setup entirely from a phone.
Camera Compatibility and Adding Cameras to the RLN8-410
This is where the RLN8-410 truly impressed me. If every camera in the system is a Reolink model, adding them to the NVR is straightforward. Furthermore, cameras do not have to be physically wired into the NVR’s own PoE ports to work with it. A Reolink camera powered by a PoE injector elsewhere on my network, reaching the NVR only through the LAN rather than a direct cable, was picked up without issue during a network scan. A wireless Reolink E1 connected the same way as well, which is a meaningful flexibility advantage if a camera location is nowhere near the NVR itself or running cable back to it isn’t practical.
Third-party compatibility is more limited. I was able to add a Tapo C575D to the system, but only through ONVIF, and functionality was noticeably reduced compared to a native Reolink camera on the same NVR. Motion alerts, smart detection, and some playback features did not carry over the way they do with Reolink hardware. Therefore, anyone running a mixed-brand camera setup should treat ONVIF support as a baseline connection rather than full feature parity, and should not expect the same smart detection or notification behavior across brands.
One more distinction worth understanding before setup: cameras that are physically plugged into the NVR’s own built-in PoE ports are only accessible through the NVR itself, either via the app’s NVR channel view or a monitor connected directly to the unit. They do not get an independent presence on the home network the way a camera on a separate injector does, so they will not show up as a standalone device if you try to add them to the app that way. In practice, this distinction should factor into how each camera in a larger system gets connected, especially if quick, independent app access to a specific camera matters more than centralized NVR control for that location.
How Network-Mode Cameras Work on This NVR
Since the network flexibility stood out so much during testing, it’s worth explaining why it works. Most Reolink PoE NVRs, including the RLN8-410, support adding cameras two different ways.
The first is a direct connection into one of the NVR’s own PoE ports, which handles power, data, and video all through a single cable run back to the unit. The second is adding a camera that already has power and network access from somewhere else, such as a separate PoE injector plugged into a router or switch elsewhere in the house, as long as that camera and the NVR are on the same local network. In that second scenario, the NVR simply discovers the camera over the LAN rather than through a direct physical connection.
In practice, this means a camera location does not need a home-run cable all the way back to wherever the NVR sits. Instead, it just needs local power and a nearby network connection, which opens up placement options in houses where fishing cable to every camera spot isn’t realistic. This is the exact behavior that let a wireless Reolink E1 and a PoE-injector-powered camera both join the system without a physical cable to the NVR itself.
Playback and Finding Motion Events
Recording continuously is only half the story. The NVR’s playback screen includes an Alarm Only filter that isolates motion segments within an otherwise continuous recording, which is the feature to reach for when trying to review a specific minute rather than scrubbing through hours of footage by hand. That said, this filter only surfaces results if motion detection is actually enabled on the camera itself, separate from the recording schedule, so it’s worth confirming that setting early rather than assuming continuous recording automatically tags events.
Zooming in during playback is supported, but the level of detail depends on which stream mode is active. NVR playback in the app can default to a lower-resolution Fluent stream for faster scrubbing, and zooming into that stream looks noticeably softer than zooming into the higher-resolution Clear stream. Switching to Clear mode before zooming in on a motion event, such as trying to make out a face or a license plate, made a real difference in usable detail.
Storage and Long-Term Recording
The built-in 2TB drive is the other piece worth planning around before buying. How much recording history that translates to in practice depends heavily on resolution, bitrate, and how many of the eight channels are actively recording continuously versus on motion only, so anyone with several high-resolution cameras recording around the clock should expect that window to be shorter than it might first sound.
In addition, since the drive comes pre-installed, there is no separate purchase needed to get started, which does simplify the initial setup compared to NVR models sold without storage included. Anyone planning a full eight-camera build from day one should factor recording schedule and resolution choices into that math early, rather than after the drive is already filling up.
Who This NVR Is Best For
The Reolink RLN8-410 makes the most sense for a household that is already committed to Reolink cameras, or planning to be, and that wants local, subscription-free storage with genuine flexibility about where each camera physically sits on the network. Anyone comfortable with an occasional HDMI-and-mouse configuration session, in exchange for not paying a monthly cloud fee, will likely be happy here.
On the other hand, a household running a mostly mixed-brand camera lineup, or one that wants every feature configurable from a phone with no display step at all, should weigh those priorities carefully before buying. The RTSP-only path for non-Reolink cameras works, but it is a noticeably reduced experience compared to native compatibility.
Verdict
The Reolink RLN8-410 delivers exactly what it promises for an all-Reolink camera system: reliable local recording, subscription-free operation, and more network flexibility than its plain PoE port count suggests, since cameras do not need a direct physical connection to join the system. The documentation is a real weak point, and anyone mixing in non-Reolink cameras should expect a more limited experience through RTSP. For a household committed to Reolink hardware, though, it is a strong, dependable core for a PoE camera system.
Rating: 4 / 5
For the full individual reviews see the Reolink Duo 3 PoE review, the Reolink RLC-510A review, the Reolink E1 review, and the Tapo C575D review. For brand-specific guides see the Reolink camera reviews hub. For the full PoE cluster see the PoE security cameras hub.