 We have been impressed by the Yi line of home security cameras. Their lineup includes several reliable models such as the Yi Home Camera and Yi Home Camera 2 1080p. Coupled with a solid app, these home security cameras will work well for most basic monitoring scenarios where a basic WiFi model is needed. A recent relocation of a Yi home security camera from one geographical location to another prompted an interesting scenario of needing to add a new camera to the Yi App.
We previously reviewed the Yi Home Security Camera and even recommended it as one of best cameras for 2017. If you need an inexpensive camera with many of the features found in higher end models, this is a good line to consider.
Today, we’re going to walk through the steps needed to add a new camera to the Yi app. This article is suited for those that already have the Yi app on their device and like their current Yi Home Camera so much that they decided to expand to an additional one. We’re also discussing how to move a Yi camera from one location to another.
Moving from One Location to Another
If you are moving a Yi camera from one physical location to another, delete it from your app and set it to the factory defaults.
The procedure to reset it to the factory defaults vary by the camera model. One some it’s an easy process and others it’s not straightforward. Luckily, the one we are moving is easy. The newer generations involve opening up the camera and looking for a button to press. Details should be available in the manual but if you no longer have it, contacting Yi might be in your plans.
On the Yi Home Camera, it’s fairly simple and done by inserting a pin or paperclip into the small hole at the side and holding in the button until a voice confirmation is received. Deletion from the app is done by opening the Yi app and touching the camera with an x on it in the camera summary. You are then shown a deletion confirmation screen which needs to be approved.
Adding a New Yi Camera to the App
So here’s how to add a new camera to the Yi App. Plug in the camera you want to add. Wait approximately 20 seconds to hear a voice prompt indicating waiting to connect.
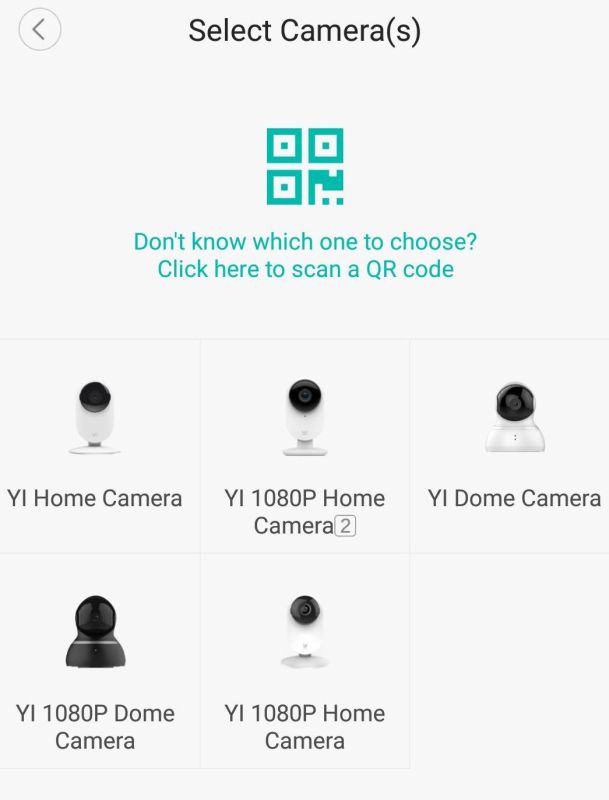
Now open the Yi app on your phone or tablet. At the upper right hand corner is a plus sign (+). Tap the plus sign. You are then greeted with a display seen in the photo that accompanies the article. Yi support five different models of their camera line with the current app. They are pictured in the photo. Each camera has different features so it’s important that you select the model that corresponds to what you have. Be sure that your router, phone and camera are all within a few feet of each other. This is important.
Now, simply tap on the model camera you are adding to the app. In this particular case, we are adding a Yi Home Camera which is the first one. You will be prompted for your WiFi network and then the network password. Next, scan in the QR code shown on your phone by holding it up to the Yi camera. You will then hear the camera tell you that the QR code scan is successful, connecting to Wifi. Similar to how you defined your first Yi camera, you’re done.