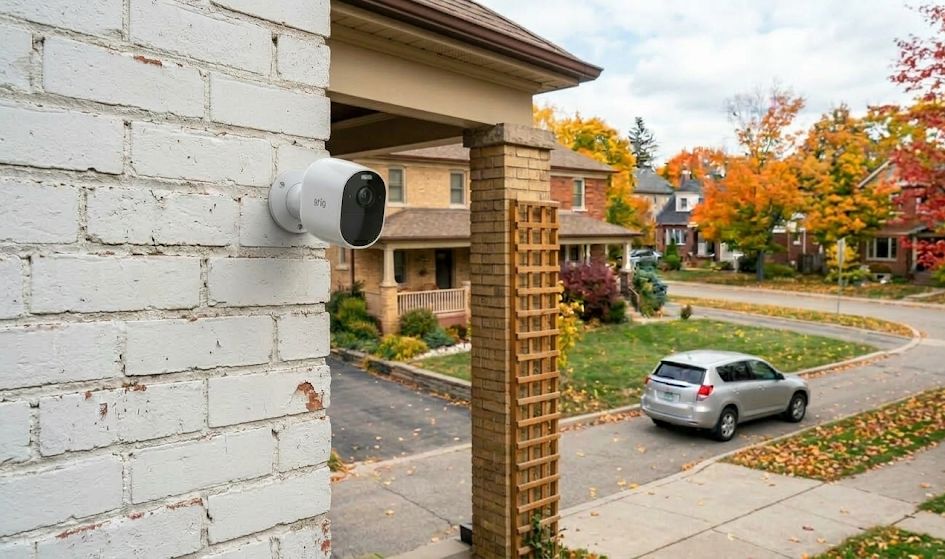
One of the things that makes the Arlo system easy to expand is that adding a new camera to an existing setup is a straightforward process. Whether adding a second camera to cover a blind spot or picking up an add-on after purchasing a starter kit, the Arlo Secure app walks through everything. Here’s the current step-by-step process for adding a camera to an Arlo SmartHub or base station.
SmartHub vs. Base Station: A Quick Note
Arlo uses two terms for the central hub that cameras connect to. The SmartHub (models VMB5000 and VMB4540) is the current generation and supports the widest range of cameras, including the Pro 4, Pro 5S, Pro 6, Ultra 2, and Essential series. Older base stations (VMB4000, VMB4500) are compatible with earlier camera models but may not support the latest hardware. Before purchasing an add-on camera, it’s worth confirming compatibility with the specific hub model in use — Arlo’s support page lists which cameras work with which hubs.
Additionally, some newer Arlo cameras — including the Arlo Pro 6 and the Essential series — can connect directly to Wi-Fi without a SmartHub at all. However, connecting through a SmartHub offers benefits like local video backup to USB storage and potentially better battery life. This guide focuses on the SmartHub/base station pairing process.
Before starting: Make sure the SmartHub or base station is already set up and connected to the internet. The hub must be online for the camera pairing process to work. Also confirm the new camera’s battery is installed and has sufficient charge — a low battery can prevent a successful sync.
How to Add a Camera Using the Arlo Secure App
The Arlo Secure app is the primary way to add a new camera. The app guides through the pairing process step by step, so there’s no need to press buttons on the hub manually in most cases. Here’s how it works:
1. Open the Arlo Secure app and make sure the correct Location is selected — the one where the SmartHub is set up.
2. Tap Add New Device at the bottom of the Devices screen, then select Cameras.
3. Select the camera model from the list. The app will ask whether to connect via SmartHub/Base Station or directly to Wi-Fi — tap SmartHub or Base Station.
4. Insert the battery into the camera if not already installed, and close the battery door securely. Bring the camera within 3 to 6 feet of the SmartHub — this is important for a reliable sync.
5. Press the Sync button on the camera for about two seconds and release. The camera’s LED will start blinking blue, indicating it’s ready to pair. Tap Continue in the app.
6. The app will detect the camera and complete the pairing. Once connected, give the camera a name and tap Finish.
Note on SmartHub LED behavior: Single-LED SmartHub models (like the VMB5000) do not require the Sync button to be pressed — the hub searches automatically when the camera is in pairing mode. Multi-LED base station models do require pressing the Sync button on the hub first. If the hub’s LED blinks amber after pressing the Sync button, it was held too long — wait 15 minutes before trying again.
Update the Firmware
After pairing, the Arlo Secure app will typically prompt to install a firmware update on the new camera. This is worth doing immediately — firmware updates often fix connectivity issues and improve performance. During the update, the camera LED will alternate between blue and amber. It’s important not to interrupt power or close the app until the update completes, which usually takes just a few minutes.
Troubleshooting a Failed Sync
If the camera doesn’t pair on the first attempt, a few things are worth checking. First, verify that the camera and hub are compatible — not all cameras work with all hub models, and the app will usually display an error if there’s a compatibility mismatch. Second, bring the camera closer to the hub. Walls and other obstructions between the camera and hub during setup can prevent a successful sync even if the camera will work fine at a greater distance once paired.
If the camera battery has been sitting in storage for a while, it may be too low to complete the pairing process. In that case, charge the battery fully using the USB-C cable that came with the camera and try again. Furthermore, only sync one camera at a time — attempting to add multiple cameras simultaneously can cause the process to fail for all of them.
| LED Color During Pairing | What It Means |
|---|---|
| Blinking blue (camera) | Camera is in pairing mode — ready to sync |
| Solid blue (camera) | Successfully paired with the SmartHub |
| Blinking green (base station) | Base station is searching for camera |
| Alternating blue and amber (camera) | Firmware update in progress — do not interrupt |
| Amber (base station) | Sync button held too long — wait 15 minutes and retry |
Bottom Line
Adding a camera to an Arlo SmartHub takes about five minutes when everything goes smoothly. The Arlo Secure app handles most of the work — the main things to get right are keeping the camera close to the hub during pairing, confirming compatibility beforehand, and making sure the battery has enough charge to complete the sync. After the firmware updates, the new camera is ready to position and configure.
Frequently Asked Questions
How many cameras can be added to an Arlo SmartHub?
Up to five cameras can typically be connected to an Arlo SmartHub or base station without a subscription. With an Arlo Secure plan, that limit can be expanded depending on the plan tier.
Can different Arlo camera models be mixed on the same SmartHub?
Yes, in many cases. The VMB5000 SmartHub is the most versatile and supports a wide mix of cameras including Pro 3, Pro 4, Pro 5S, Ultra, and Ultra 2. However, compatibility varies by hub model — always verify before purchasing an add-on camera that it’s supported by the specific hub already in use.
Does the Arlo Pro 6 require a SmartHub?
No. The Arlo Pro 6 connects directly to Wi-Fi and does not require a SmartHub to operate. A SmartHub is optional but adds local USB storage capability if that’s a priority.
What if the camera shows as owned by another account?
This happens with secondhand cameras that weren’t removed from the previous owner’s account. The camera needs to be factory reset before it can be added to a new account. Hold the Sync button on the camera for about 10 seconds until the LED flashes to perform a factory reset, then attempt pairing again.